COEP Moodle Quick-start Guide
1. Logging in and browsing
I would like to enlist few simple steps as a quick-starter with Moodle.
1) If you have forgotten your Moodle password, then helpdesk@coep.ac.in will help you in resetting the password.
2) After you login to COEP Moodle at https://moodle.coep.org.in you need to send request to create a course. For that you need to
(a) Access the Search/Create Courses -> New Course Request (For Faculty Only) at the top-left corner. See 0.jpg attached.
(b) On the page that opens, please fill in all the fields, select your department correctly and send the request.
I will approve it by end of the day.
(3) Once the request is approved, you have complete authority over your course. Please spend some time in exploring. Plenty of help exists on https://docs.moodle.org/38/en/Teacher_quick_guide and Youtube also. Please write to me if you need more help.
2. Assignments, Sharing content
Learning anything for first time requires some trial and error and of-course, mistakes which teach us. I have few quick-suggestions for you to play around with Moodle.
0) After your course is created , please ask the students to "Enrol" for the course. By default they can just search the course, and click on "Enrol" link. If students have forgotten their passwords, they should contact helpdesk@coep.ac.in
1) Once you see your course page, click on "Turn Editing On" in the right-upper corner. This will enable you to add content to your course.
2) Now click on "Add an Activity or Resource" in any week. E.g.

This gives you many options. As time permits, you can explore all of them.
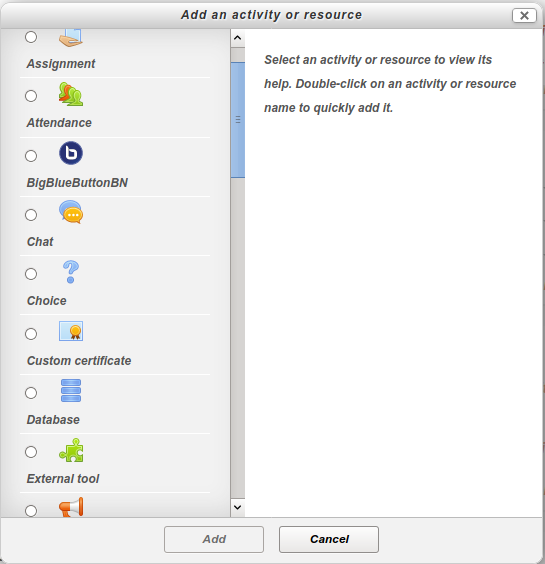
I suggest the resources and activities that I've used the most.
a)"Assignment" where you can ask students to submit a writeup or files online. You can evaluate all of it online.
b) "Files" using which you can upload files. Note that there is a limit on size of file that you can upload. If you want to upload huge files, then perhaps you can upload to Google-Drive or Outlook-OneDrive and share a link on Moodle (Using "URL" resource).
c) "Attendance" can be used to conduct attendance when class sessions are going on. You can ask students to mark the attendance on their own (using a password shared in class), or you can also mark it online in the class itself. The nice thing is that you get a readymade-spreadsheet with all calculations readily done.
d) "Quiz" is for conducting an online exam. You can have various types of objective questions and also subjective questions. Learning the types of questions needs some time investment (!).
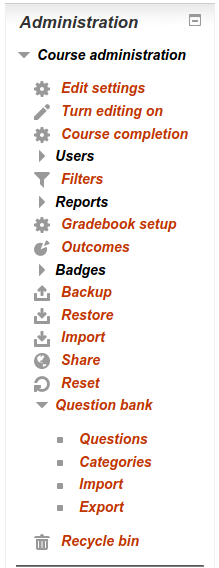
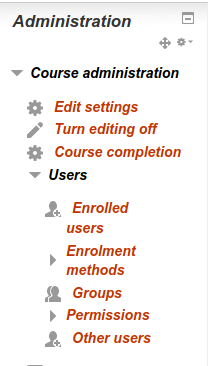
3) In the left column, you will see "Course Administration", visible to teachers only.
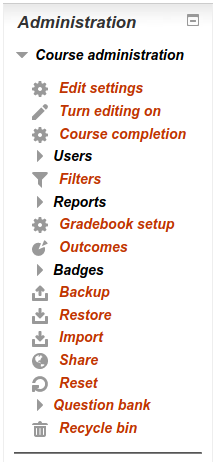
This helps you to do many things with your course like: backup and get a ZIP file of the course, import an old course, create a question bank (first you create your questions in question bank, a quiz is a subset of these questions), export all marks as a single spreadsheet (EXCEL, ODS, PDF, etc.), etc.
4) Further there is a unique feature that we have added to our own Moodle. Ability to export all content for offline use (considering that internet may not be available at times).
You can see in left-column

Click on "Add" and "Download All Materials"
Now you and your students will see a block in left-column like this:
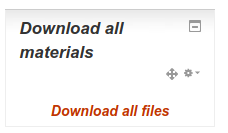
Click on "Download all files" and students can download entire course content as a single ZIP file.
3. Exams, Quizzes, Users
A)
How do I conduct an exam on Moodle ?
Ans:
This is a two step process.
1) Create a question bank. 2) Create a quiz, with questions taken from question bank.
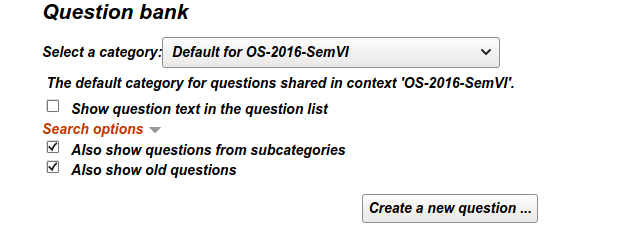
For step 1), you need to go to Course_Administration->Question_Bank in left-side menu.
Here you can create questions of various types. Click on "Create a new question"
This needs some experimentation and learning. The question types most used by me are
Calculated, Multiple Choice, Matching, Short Answer, Essay. The Essay type is subjective question and needs manual evaluation. Rest of the questions get evaluated automatically. Please fee free to test all question types.
I also use the type Cloze, which combines many types of questions into one, but this type requires some involved learning. See https://docs.moodle.org/37/en/Embedded_Answers_(Cloze)_question_type
For step 2),
You need to create a quiz and then insert questions in quiz from question bank.
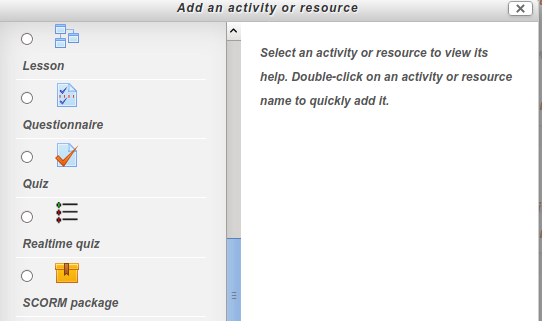
To create a quiz, go to course homepage and click on "Add an Activity or Resource"

Select "Quiz"
Now do quiz settings. There are many options like timing, grade, layout, Quesion behaviour, review, etc. and you need to select them properly.
I will share some most typical settings in another email.
After creating quiz, you will be shown the below screen, select "Edit Quiz"
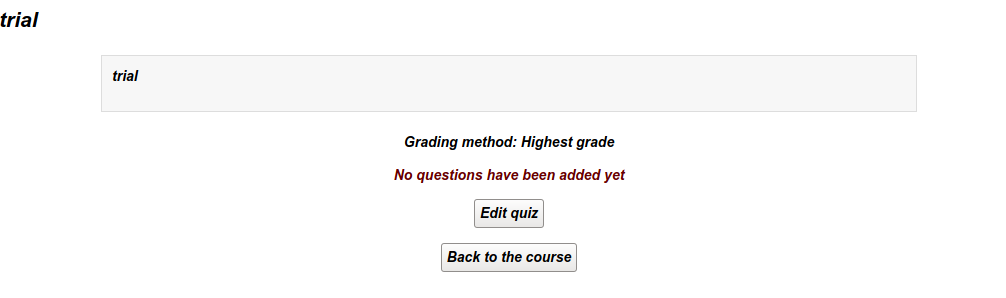
Now, click on "Add" and insert questions from Question bank into quiz.
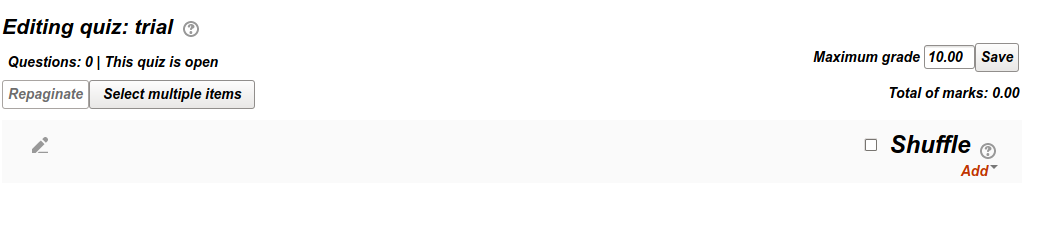
You an turn on the "Shuffle" checkbox, this will shuffle the order of questions seen by students (may not be needed if they are home!)
B) I already have an old course on Moodle and want to reuse the course material.
Ans) This is easily done using "Import" of the old course.
First create a new course.
Then in new course go to Course_Administration->Import
Search your old course
Select items to be imported.
C) How does the course/quiz appear to the students?
I've created a separate account to be used by the Teachers. You can use this account to enrol in your own course as a student and then use the same account to see what the students will see. Please do not share this with the students.
userid: password: Please search for the userid and password on one of the emails sent on COEP faculty groups.
D) How do I add another co-faculty to the course ?
1) Ask the Co-teacher to Enrol in the course.
2) Go to Course_Administration->Users->Enrolled_Users
3) Locate the teacher and Go to "Roles" column of the user.
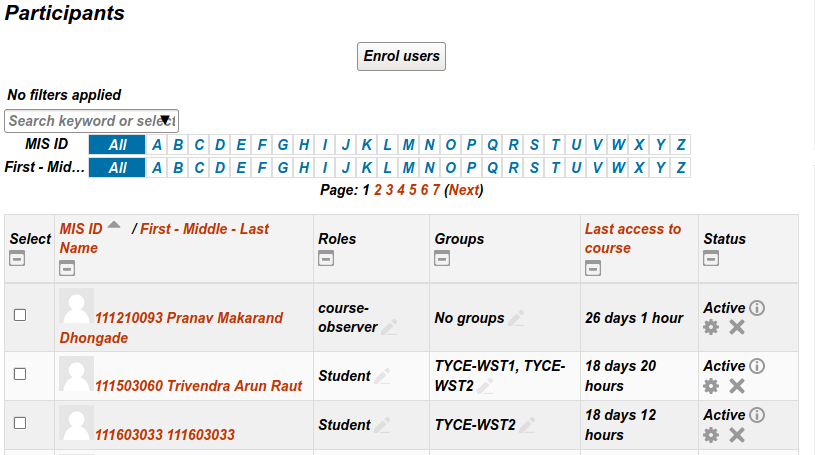
4) Add "Teacher" role to this user.
4. Quiz Settings
Here is more on the typical Quiz (Exam) settings and their meaning.
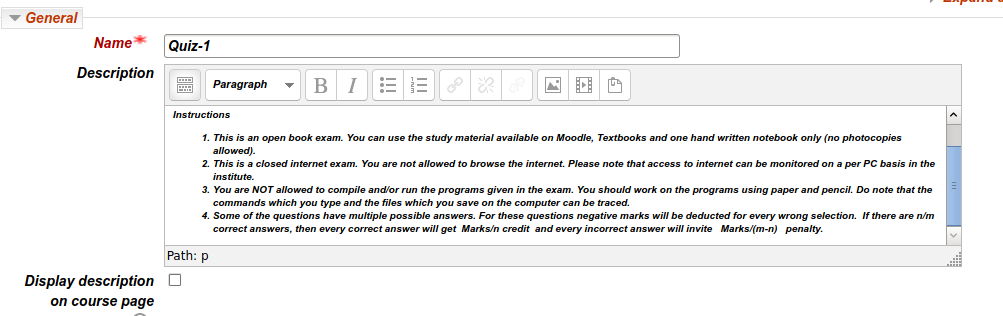
Description
Here you can write all the instructions for students.
Timing
This is crucial. Enable the timings.
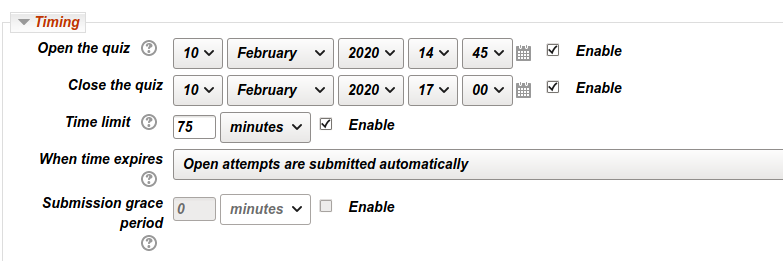
Students can't see quiz questions before the "open time".
Students' attempt must finish before "close the quiz" time.
Time Limit is applicable to per student. Suppose open time is 3pm, close time is 5pm and "time limit" is 50 minutes, then students can attempt the quiz in any 50 minutes between 3-5pm.
"When time expires" -> Set it to "Open attempts are submitted automatically " . Normally students do not press submit button till quiz is over, this option ensures that exam is submitted automatically.
Grade
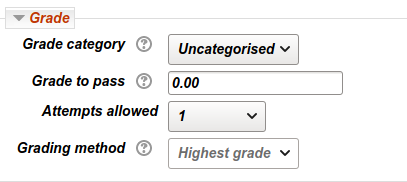
Set "Attempts Allowed" to 1. if you set it to 2 or more, the students can attempt the quiz more than once!
Layout
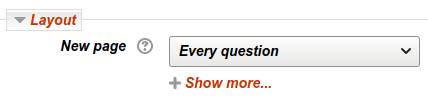
New Page Every question means students will see one question on one web-page. You can change this as per your need. Note that his combines with the "Shuffle" option on the "Edit-Quiz" page (discussed in earlier email).
Question Behaviour
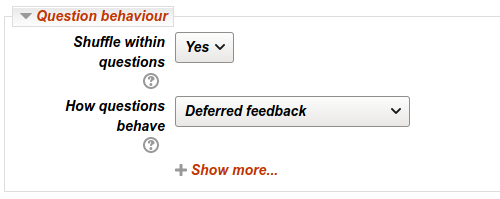
"Shuffle within Questions" = "yes" ensures that order of options seen by each student is different.
"Deferred Feedback" means that Feedback that you have entered in each question text will be showed "deferred", after quiz.
Review Options
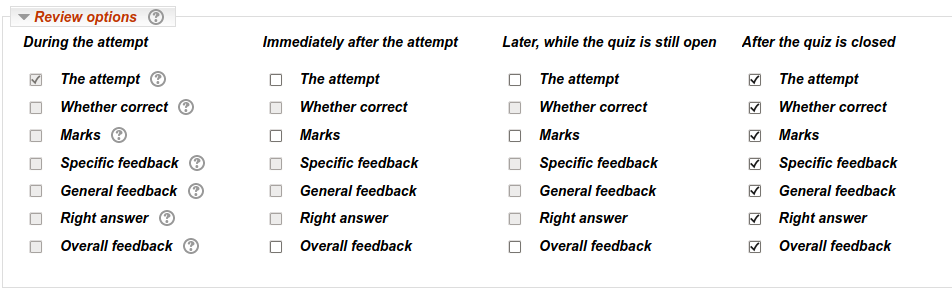
This is critical. Set the options as shown above and this will ensure that they can see their marks, and correct answers, but only after the ending time of the quiz.
Extra Restrictions on attempts
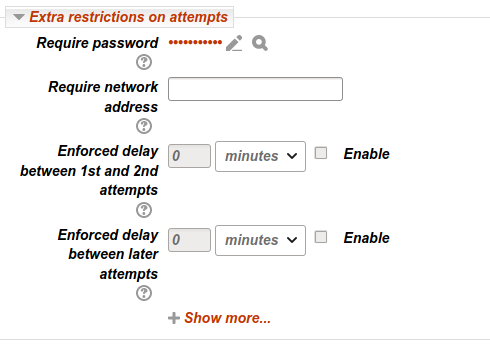
The password can be set and announced in a class (most typically in an exam taken in class).
"require network address" can be used to make sure that only students sitting in a particular "LAN" can attempt.
Common Module Settings
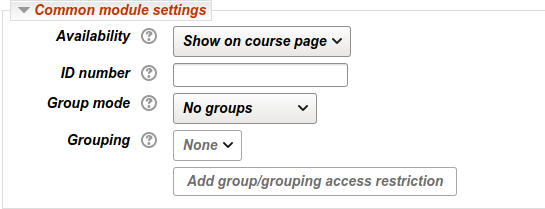
"Availability" -> Hide From students, will make sure that students don't see the quiz on Course home page. You will have to manually unhide it so that they see it. This is different from timing option.
So there are 3 filters now for making quiz unavailable -> Hide from students, timing, and password protection.
"Group Mode" and Grouping -> you need to learn about creating student groups (e.g. batches) on Moodle. Skipping this.
Restrict Access
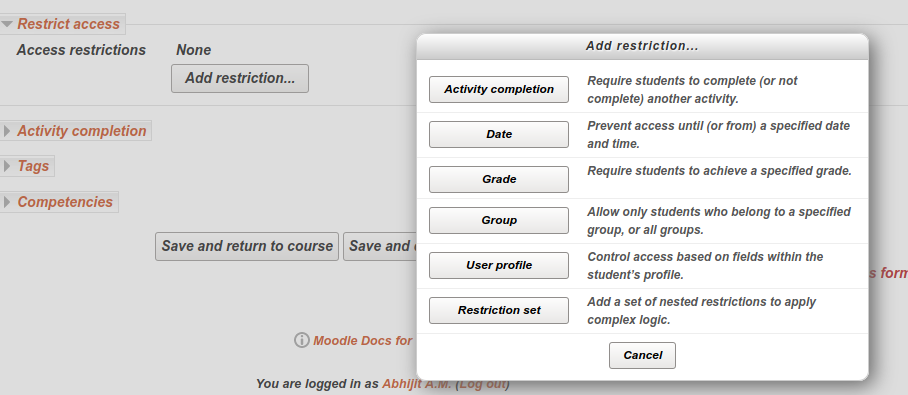
you can restrict the access using further rules like, only students in a particular group can attempt, or those who have finished some earlier task can attempt.
Activity
Completion
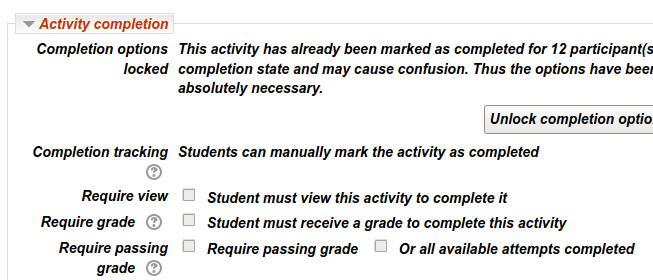
This
can be used to determine when the student has completed the quiz. The
"completion" status can be used further in "Restrict
Access" of some other quiz or assignment, etc.